3D Exercise
I have decided to regularly follow Blender tutorials on YouTube. Why? That’s not creative! True. But if you forget existing knowledge, don’t consolidate it, and don’t expand on it, you can’t make new connections – so you can’t be creative. I realized that it’s high time for me to do this. There are such great tutorials by nice creatives who are happy to share their knowledge that I almost feel embarrassed to think so small.
To better internalize what I learn in the tutorials and to at least personalize it a bit, I will try to incorporate a small change each time.
Today’s YouTube tutorial is by “Ducky 3D” and is titled “Satisfying Geometry Nodes Animation.” Highly recommended! I first recreated it exactly and then changed the shapes and materials a bit.
What I learned from it (for “Blender Insiders”):
Basic Principle: Basically, it’s about overlaying two identical shapes, where the top one is slightly scaled up and performs the movement, while the bottom one does nothing.
Base Shape: The base shapes can be, for example, a cube or, as in my case, a sphere – the important thing is that they have many subdivisions or that you add them. These subdivisions are used to place new instances at their center points. These can be any shapes, but using the same shape as the base is particularly appealing because it gives the impression that the instances are forming from and moving within the base shape. You can simply drag them from the Outliner as an ObjectInfo Node into the GeometryNodes window (this was new to me – very practical!). The different sizes of the instances are generated using a Noise Texture connected to a ColorRamp (Scale value: 1.5), where the defined grayscale values influence the size of the instances. By changing the “W” value in the Noise Texture Node (4D), you achieve this special wave-like scaling movement of the instances, which I find fascinating.
Second Shape: Once you have the base shape ready, duplicate it and scale it down a bit, removing the size-changing nodes so that all instances are the same size again.
Interesting Loop of the Base Shape: Now both shapes are overlaid as described above, and only the loop movement needs to be added. Here, Ducky 3D refers to Joey Carlino, from whom he adopted the loop movement. To do this, select the base shape again and duplicate the Noise Texture (note: keep the values the same!) and add a Mix RGB Node (green) between the Noise Textures and the ColorRamp. Now set the interpolation in the Timeline window (important: Preferences > Animation > Default Interpolation: linear):
At Frame 0: in the Mix Node, set Fac=0 with “I”, in the upper Noise Texture Node: W=0, in the lower Noise Texture Node: W=(-5)
At Frame 250: in the Mix Node, set Fac=1 with “I”, in the upper Noise Texture Node: W=5, in the lower Noise Texture Node: W=(0)
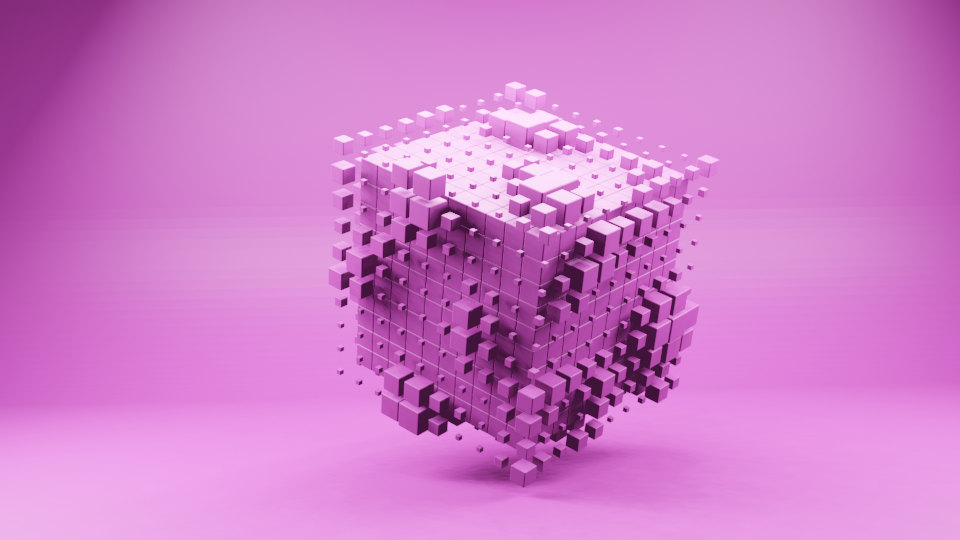
exact replica
Rebuilding: I only used a different color and instead of rendering with Cycles, I rendered with Eevee.
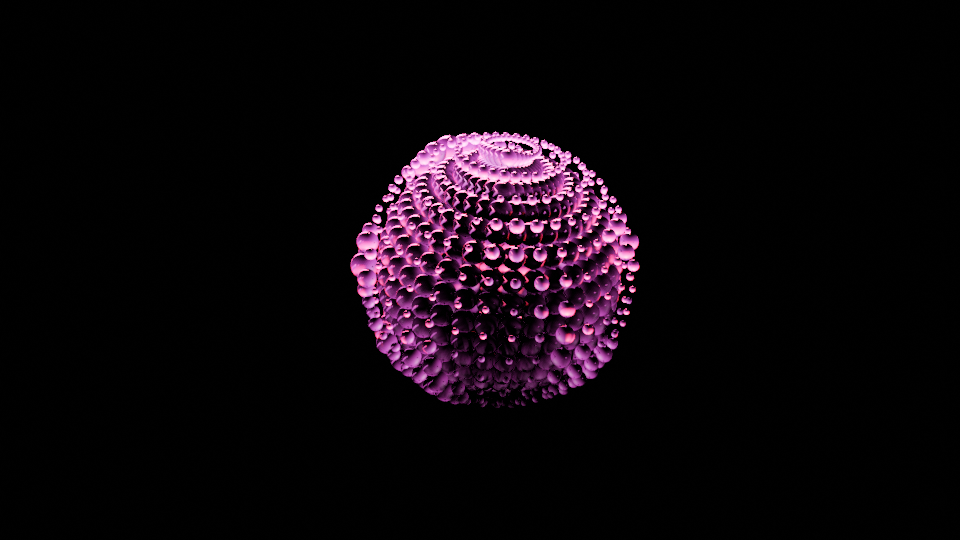
slightly modified
Personal changes: UV Spheres instead of Cubes, and different material and background.